Showing posts with label How To. Show all posts
Thursday, July 18, 2013
How to Make Your Foundation Stay On Longer
How do you keep your makeup from sweating off in this gosh awful heat?
For me, I like a face primer to keep the makeup from running all over my face. And let me tell you I sweat like a man. So it's very needed!
Two of my favorite primers are from BareEscentual's and Smashbox.
Tip: Using a foundation brush rather than your fingers to apply the primer, will help you to use less product and give a more even coverage. Thus making a smoother foundation for your foundation to go on :)
Now you are ready to face the sun without dread! Ok that is wishful thinking. If you live anywhere like NYC, you're dripping the moment you leave the house. Here's to better looking makeup at least!
Thursday, May 30, 2013
Makeup Photo a Day 55: How to Get Eyeshadow in Your Crease

The key to effectively getting a specific color in your crease without spreading it everywhere on your eyelid, is a a dome eyeshadow brush [see photo below]. It's a wonderful, rounded brush that tapers at the end-hence the name dome-and it's an important brush to own! There you have it. That's how the magic happens.
Friday, May 17, 2013
How to Make Your Mascara Last {a Little} Longer
1. You need artificial tears and of course your mascara.
2. Simply put 1-2 drops of artificial tears in your mascara.
3. Using the mascara wand, push it in and out of the mascara gently to mix the eye drops.
4. Tada! Now your mascara can last a bit longer. But don't forget to throw it out when it expires!
Wednesday, May 8, 2013
Greek Yogurt: The Best Face Mask Ever
I would be doing a disservice to all if I didn't share my biggest skin secret. To start, I learned this from a lady who had the BEST skin I have ever seen. I always marveled at her bright, tight, barely wrinkled, super luminescent skin. One day she told me that Greek yogurt was the secret to her youthful skin [she's in her fifties]. You can bet I ran to my fridge after that to see if I could get the same results.
It's insane how healthy my skin feels after I do this mask. I have tried many masks and washes all to no avail. They left me with a "that's all?" feeling. NOT THIS ONE FOLKS.
How to do it:
1. Wipe plain greek yogurt all over your face.
2. Keep it on for about 10 minutes or until almost all the way dry.
3. Standing over the sink, rub it off in an upward motion with your fingers. This helps the dead skin cells to slough off, like an exfoliator.
4. Rinse the remaining yogurt off with hot water.
5. Splash cold water over your face to close pores. [And it just feels good]
Don't be silly like me and let your hair on the mask. But hey, maybe my hair is getting healthier too.
This is me sans makeup right after washing the mask off. My skin feels incredible right after.
Please tell me you're going to try this!
It's insane how healthy my skin feels after I do this mask. I have tried many masks and washes all to no avail. They left me with a "that's all?" feeling. NOT THIS ONE FOLKS.
How to do it:
1. Wipe plain greek yogurt all over your face.
2. Keep it on for about 10 minutes or until almost all the way dry.
3. Standing over the sink, rub it off in an upward motion with your fingers. This helps the dead skin cells to slough off, like an exfoliator.
4. Rinse the remaining yogurt off with hot water.
5. Splash cold water over your face to close pores. [And it just feels good]
Don't be silly like me and let your hair on the mask. But hey, maybe my hair is getting healthier too.
This is me sans makeup right after washing the mask off. My skin feels incredible right after.
Please tell me you're going to try this!
Thursday, April 18, 2013
Makeup Photo a Day 45: How to Get Rid of Under Eye Circles or Shadows
While I am very blessed to have minimal darkness under my eyes, after three days of 15 hour shoot days and very little sleep, I can look pretty exhausted.
This is my FAVORITE makeup tip of all time because it's so simple and so many people "suffer" from this.
Here's the secret key to getting rid of darkness!
Because the darkness under eyes is usually a blueish tone, you must use blue's complementary color ORANGE. Yes, orange is the secret. I used the shade from my Ben Nye concealer palette, but I've also used orange shaded lipsticks and lip pencils. It's a great thing orange is so hot right now!
You'll need to mix a very small amount of the orange with your concealer. I use a smaller amount of orange than the swatch in this picture. I just wanted to get a clear picture of it.
I dab a small amount of the orange on my fingertip and mix it into my concealer. [Mixing the colors on your hand softens them from your body heat and prepares them for your skin. That way you're not pulling the skin around your eye much. It's very sensitive skin!]
It's extremely minimal [you don't want to see it!] but you can see under my left eye [if left and rights confuse you like me, it's the eye on the right side of the picture. Don't make fun.]
Another tip: PAT ever so softly, DO NOT rub or pull the skin to blend it. It will weaken the skin and over time, will wrinkle you prematurely.
I hope this helps you tremendously!
Molls
This is my FAVORITE makeup tip of all time because it's so simple and so many people "suffer" from this.
Here's the secret key to getting rid of darkness!
Because the darkness under eyes is usually a blueish tone, you must use blue's complementary color ORANGE. Yes, orange is the secret. I used the shade from my Ben Nye concealer palette, but I've also used orange shaded lipsticks and lip pencils. It's a great thing orange is so hot right now!
You'll need to mix a very small amount of the orange with your concealer. I use a smaller amount of orange than the swatch in this picture. I just wanted to get a clear picture of it.
I dab a small amount of the orange on my fingertip and mix it into my concealer. [Mixing the colors on your hand softens them from your body heat and prepares them for your skin. That way you're not pulling the skin around your eye much. It's very sensitive skin!]
It's extremely minimal [you don't want to see it!] but you can see under my left eye [if left and rights confuse you like me, it's the eye on the right side of the picture. Don't make fun.]
Another tip: PAT ever so softly, DO NOT rub or pull the skin to blend it. It will weaken the skin and over time, will wrinkle you prematurely.
I hope this helps you tremendously!
Molls
Saturday, April 6, 2013
How To Brighten Your Eyes With Makeup
Not gonna lie, I've wanted to do videos for a while and this is my first blog video ever! So all those interviews I've practiced doing since I was a kid are going to pay off :)
I hope this is an easy tip that will give you new idea for makeup!
Molls
Monday, January 28, 2013
How To Brighten Your Eyes With Makeup
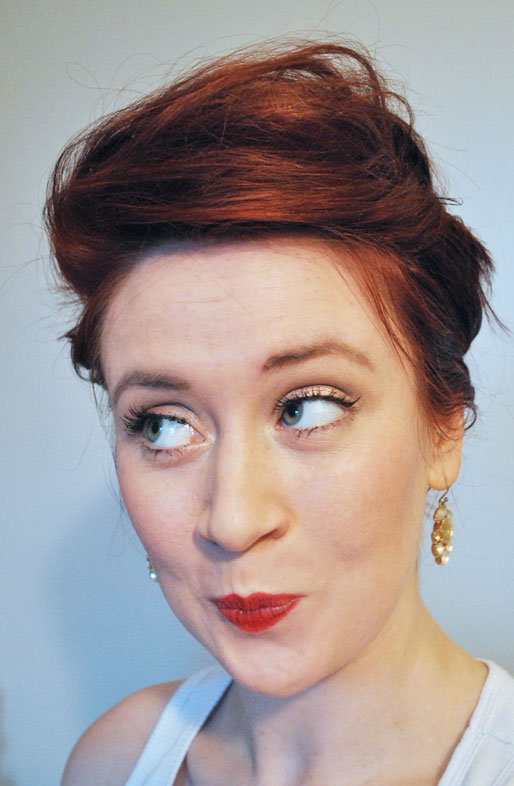
Most of us line our eyes with dark liner to emphasize or deepen our lash line. Have you ever thought about using a highlighter to emphasize your actual eye? Dark colors recede on your face (think face contouring) and bright or light colors come forward. So if you want to draw your eyes out and make your eye color pop, this is an awesome trick. Especially in the day time because it's easy and not over the top. <scroll down to see how I did it>
I brushed on a very light shadow all over my lid, then used my Hard Candy Eye Def Metallic Shadow and swept it across my top lash line. There are many options to use-eye shadow works really well especially if you wet it first. A metallic, bronze, or blush pink are great but also use your eye color as a guide when choosing which color for best eye optimization [I just made that term up on the spot. Is it weird?].
Is this something you've tried before or would like to try? Let me know how it goes!
Mollie
I brushed on a very light shadow all over my lid, then used my Hard Candy Eye Def Metallic Shadow and swept it across my top lash line. There are many options to use-eye shadow works really well especially if you wet it first. A metallic, bronze, or blush pink are great but also use your eye color as a guide when choosing which color for best eye optimization [I just made that term up on the spot. Is it weird?].
Is this something you've tried before or would like to try? Let me know how it goes!
Mollie
Monday, January 14, 2013
One Jacket Five Ways
Today marks the first of a new series on the blog, One Piece Multiple Ways. It's easy to get in a rut with clothing, especially with your favorite items. Jackets are a staple in my wardrobe and I am always looking for a new way to incorporate them into my style.
The Challenge: I gave myself ten minutes to put together each outfit, with no pre-planning involved. I barely changed my jewelry because I used versatile pieces to show how much wear you can get even with a pair of earrings.
I thrifted this 40's style army green jacket recently and have been quite thrilled to give it a home in my wardrobe. [Please note the misguided strand of hair in the first image. I laughed so much that I decided to leave it there. You're welcome for the chuckle.]


I hope this serves as inspiration for your own closet! What is another item you would want to see styled multiple ways?
Mollie
The Challenge: I gave myself ten minutes to put together each outfit, with no pre-planning involved. I barely changed my jewelry because I used versatile pieces to show how much wear you can get even with a pair of earrings.
I thrifted this 40's style army green jacket recently and have been quite thrilled to give it a home in my wardrobe. [Please note the misguided strand of hair in the first image. I laughed so much that I decided to leave it there. You're welcome for the chuckle.]


I hope this serves as inspiration for your own closet! What is another item you would want to see styled multiple ways?
Mollie
Wednesday, August 29, 2012
Trend Love: Hair and Makeup
So if you're like me and don't care to wack off half of your head, you can still easily get the look. Here is how:
Ta Da!!!
Until next time.
Subscribe to:
Posts (Atom)